Coolant Loss Repair Cost Guide for Diagnostics Buyers
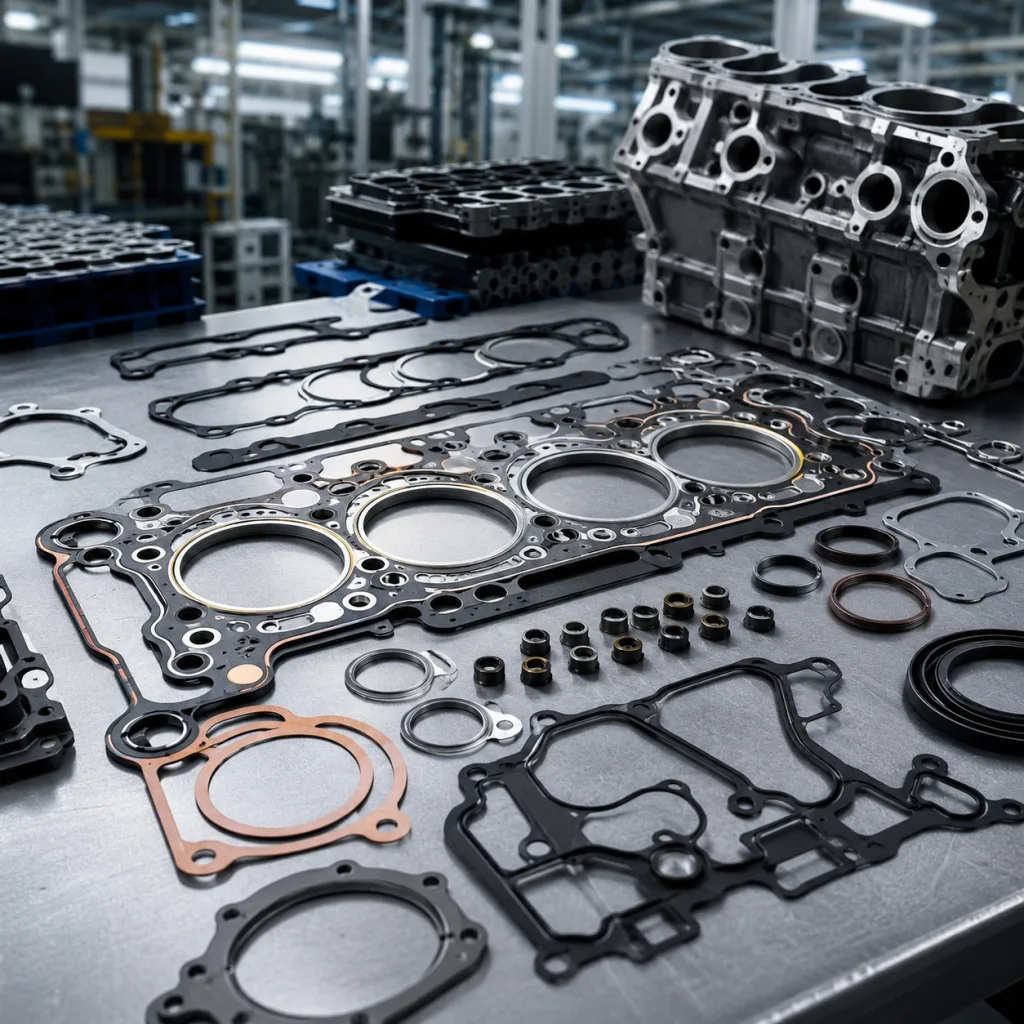
Coolant loss may start as a workshop complaint, but for procurement teams it quickly becomes a question of parts cost, labour exposure, and repair risk. The same symptom can come from a spring clamp that has lost tension, a cracked PA66-GF thermostat housing, a water pump mechanical seal, a radiator crimp joint, a pressure cap that vents below specification, a head gasket, or a turbocharger coolant feed/return line. Once the fault is confirmed, the estimate can change sharply because access time, draining and refilling, air bleeding, and post-repair checks often cost more than the replacement part itself.
This coolant loss repair cost guide helps B2B buyers separate symptoms, inspection steps, and replacement decisions before authorising work. Driventus is an independent aftermarket manufacturer; brand names and OE references are used for fitment identification only. Our diagnostics and replacement planning are aligned with IATF 16949:2016 and ISO 9001:2015 process-control principles, and material compliance should be checked against REACH (EC) No 1907/2006 where applicable. When buyers compare sourcing options, the line between a low-cost top-up and a full cooling-system repair is usually drawn by leak location, pressure-test results, component access, and whether the replacement part can be validated before release.
What coolant loss usually means in repair planning
Coolant loss is not one failure mode. Repair cost depends on whether the system is losing fluid externally, internally, or only when temperature and pressure expose a weak point that stays sealed during a cold static inspection. Most passenger-vehicle cooling systems operate with a cap rating around 1.0–1.5 bar, and some leaks do not show until coolant reaches operating temperature and hoses, plastic housings, and crimped joints expand.
Typical external causes include:
Split EPDM radiator hose, hardened hose end, or spring clamp with reduced clamping force
Cracked plastic thermostat housing or coolant outlet, often in PA66-GF material after heat ageing
Water pump mechanical-seal leak from the weep hole or shaft area
Reservoir or radiator cap unable to hold rated pressure, causing overflow or premature boiling
Heater core seepage, often identified by cabin odour, damp carpet, or fogging
Turbocharger coolant feed or return pipe leak on water-cooled applications
Quick-connect O-ring leakage at plastic couplings or sensor ports
Internal loss is usually more expensive to diagnose. It may involve combustion gases entering the cooling system, coolant entering a cylinder, oil/coolant cross-contamination, or intermittent overheating with no visible drip. A vehicle that needs frequent top-ups but leaves no puddle can still have a serious fault, especially if the level drops after a loaded drive and then stabilises overnight. In practice, the repair plan should include cap testing, static pressure testing, UV dye or borescope inspection where needed, combustion-gas testing, and underbody inspection before any major parts are approved.
For procurement teams, the important point is range. A coolant complaint can mean one hose, cap, or O-ring, but it can also become a complete cooling module, water pump kit, radiator assembly, or engine sealing repair. Once the failure path is known, the estimate becomes more reliable and the replacement list can be narrowed to the actual cause rather than the most visible trace of coolant.
Cost drivers that change the estimate
The visible part price is only one line in the repair total. A useful quote separates diagnostic time, part cost, labour hours, coolant, seals, clamps, single-use fasteners, and post-repair validation. In many markets, a small external leak may take 0.3–1.0 labour hour to confirm and repair. Access-heavy pump, radiator, or engine-sealing work can take several hours before the system is ready for vacuum fill, bleeding, and road testing.
Fault source
Typical part cost impact
Labour impact
Technical notes
Hose, clamp, or O-ring leak
Low
Low
Often confirmed by pressure test; replace deformed hose ends and aged clamps, not only the wet joint
Pressure cap fault
Low
Low
Cap should hold its rated pressure; early venting can mimic overheating or unexplained loss
Thermostat or housing
Low to medium
Medium
Refill and bleed required; check sensor ports, flange flatness, and integrated seal grooves
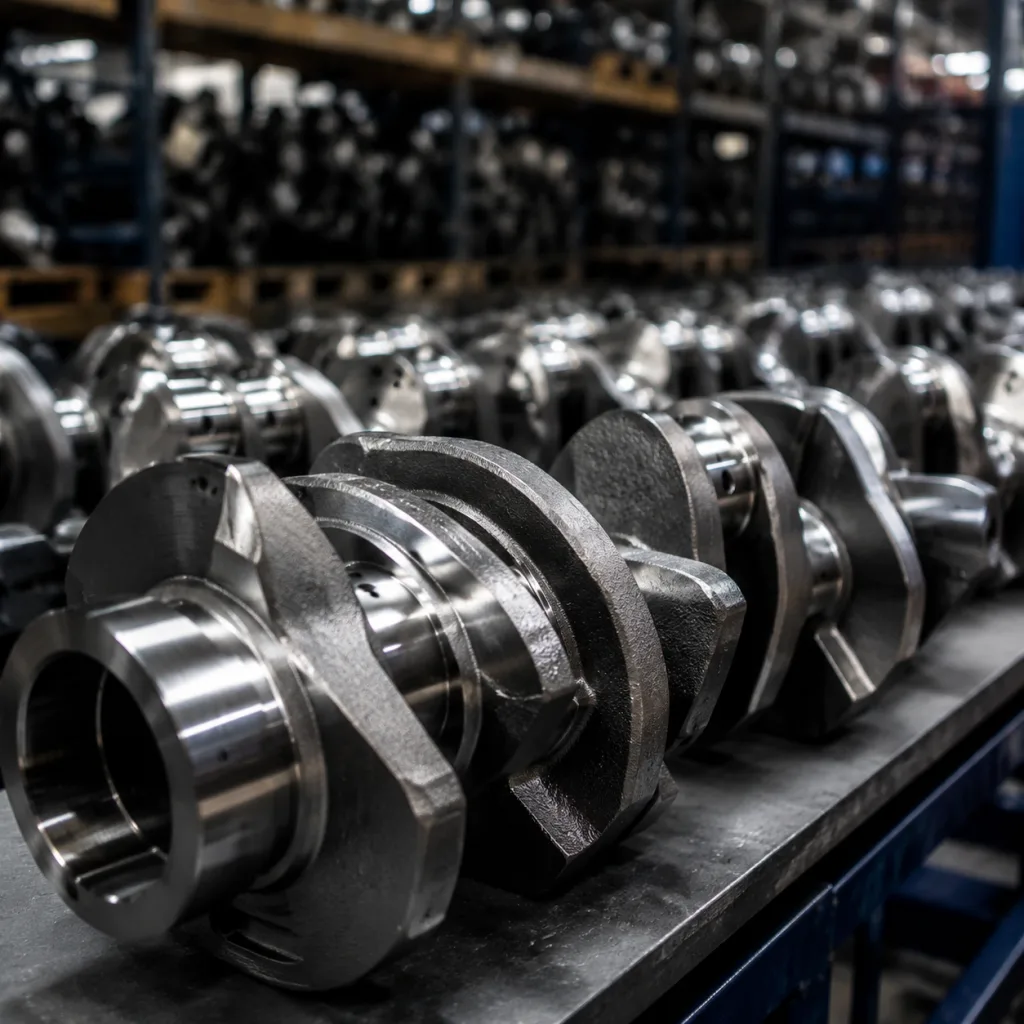
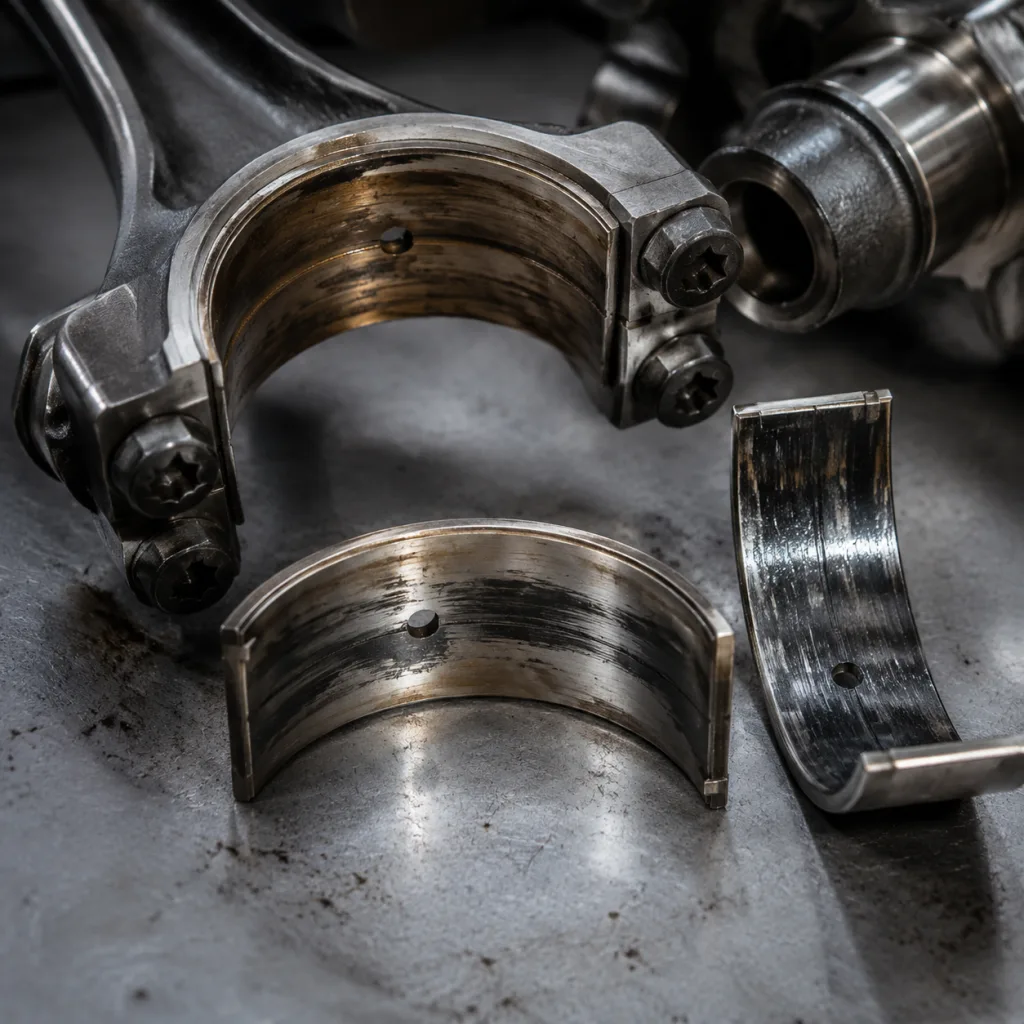
Water pump leak
Medium
Medium to high
Mechanical seal, bearing, impeller, gasket, and belt-drive/timing-drive access affect scope
Radiator or cooling module failure
Medium
Medium
May require fan shroud, condenser mounts, bumper ducting, lower shield, coolant flush, and refill
Heater core leak
Medium
High
Cabin trim and HVAC case access can dominate cost even when the part is inexpensive
Head gasket or cylinder-head issue
Low part cost, high system cost
High
Requires compression, leak-down, block-test, flatness check, and often machining decisions
Turbo coolant line
Low to medium
Medium
Restricted access, banjo fittings, sealing washers, and heat shielding can add labour
</tr></thead><tbody> </tbody></table>Labour rates vary by region, but access time is usually the biggest swing factor. A front-mounted auxiliary coolant pump or visible hose connection may be quick to service. A transverse engine with the water pump behind the timing cover is a different job, often involving belts, covers, pulleys, engine mounts, and related hardware. Radiator replacement can also expand when bumper reinforcement, fans, active grille shutters, charge-air coolers, or condenser brackets have to come off first.
Buyers should also allow for coolant concentrate or premix, new seals, gaskets, clips, bleed screws, vacuum-fill procedures, and sometimes one-time-use fasteners. A low-cost part can still have a high installed cost if the system needs full draining, flushing, refilling, air bleeding, warm-up cycling, and a pressure hold after cooling. When the fault is intermittent, diagnostic time belongs in the quote; assuming the first visible stain is the only issue is a common way to underprice the job.
Inspection steps before approving replacement
A structured inspection reduces unnecessary returns, limits over-ordering, and makes the repair estimate easier to defend. The aim is simple: decide whether the vehicle needs a small external sealing fix, a component replacement, or a larger engine-side repair.
Step 1: Confirm the symptom
Check whether the complaint is rapid loss, slow seepage, overheating, white exhaust vapour after warm-up, sweet odour, cabin misting, or pressure buildup after shutdown. Document coolant type, fill level, freeze/boil protection where a refractometer is available, service history, and any mixed formulations or contamination. If the vehicle overheats only under load, at idle, during towing, or after shutdown heat soak, record that condition separately because each pattern points to different failure paths.
Step 2: Test the cap and pressure-test the system
Use a cooling-system pressure tester and the correct adapter to replicate cap-rated pressure, commonly around 1.0–1.5 bar depending on application. Do not exceed the vehicle manufacturer’s specified test pressure. A leak that appears only under pressure is often a seal, cap, tank, hose, or crimp-joint issue. If pressure drops with no visible drip, inspect the cylinder-head area, heater circuit, EGR cooler where fitted, turbo coolant circuit, undertray, and bellhousing area for hidden residue. A cap that vents early or cannot hold pressure should be treated as a functional part of the diagnosis, not a minor afterthought.
Step 3: Inspect high-failure points
Focus on hose junctions, water pump weep holes, radiator tanks, thermostat housings, coolant flanges, reservoir seams, heater connections, bleed screws, and turbo coolant passages. Look for dried coolant residue, white/pink/green crusting depending on coolant dye, wet staining, and heat-discoloured plastic. Plastic quick-connect fittings deserve close attention because they often crack at the retaining-clip window or O-ring groove even when the hose itself looks sound.
Step 4: Check for internal indicators
Look for emulsified oil, rising oil level, persistent bubbling in the expansion tank, misfire on cold start, unexplained combustion smell in the coolant, coolant pushed out of the overflow after shutdown, or pressure remaining in the system after a full cool-down. If these signs are present, replacement planning must include the possibility of a head gasket, cylinder head, EGR cooler, oil cooler, or related sealing components rather than only the visible external part. Leak-down, compression, borescope, or combustion-gas testing may be required before the job can be costed accurately.
Step 5: Confirm cross-reference and fitment
For sourcing, verify OE reference, engine code, production date range, connector shape, sensor port count, hose barb diameter, mounting-point geometry, and dimensional match before release. Part numbers alone are not enough when there are running changes, emissions variants, manual/automatic cooling layouts, auxiliary pumps, or market-specific radiator packages. Driventus is an independent aftermarket manufacturer; brand names and OE references are used for fitment identification only.
Step 6: Confirm what must ship with the part
Before approving replacement, check whether clamps, bonded seals, flat gaskets, O-rings, crush washers, bleed screws, coolant, and installation instructions are required in the same order. This prevents installation delays and avoids the familiar problem of having the main component on the bench but missing the small seal, washer, or clip needed to finish the repair.
When to replace the water pump, gasket, or hoses
Repair cost becomes much easier to predict once the failed component is identified. In many cases, the visible coolant stain is only a secondary trace from a nearby seal, housing, bleed screw, or quick connector. Replacing only the wettest-looking part can lead to repeat labour and a comeback order.
Replace the water pump when:
Coolant is visible from the weep hole, shaft seal, gasket edge, or pump body joint
Bearing noise, shaft play, or pulley wobble is present
The impeller is cracked, loose on the shaft, eroded, or cavitation-damaged
The pump is driven by the timing belt/chain and is removed during timing service with high service age
Pressure loss continues after hoses, radiator, cap, and housing have tested normally
The pump uses an integrated thermostat, electronic actuator, or plastic cover that shows heat damage or leakage
Replace gaskets, O-rings, or housings when:
Plastic parts are warped, cracked, oil-contaminated, or heat-brittle
Mating surfaces show corrosion, pitting, gasket imprint damage, or old sealant residue
Torque retention is poor because bosses, inserts, or bolt holes are damaged
Leak trace follows the flange perimeter rather than a single hose connection
The housing is brittle enough that removal is likely to break a connector or bleed port
The seal has flattened, extruded, hardened, or taken a permanent compression set
Replace hoses and clamps when:
EPDM rubber is softened, swollen, oil-contaminated, blistered, or internally delaminated
Clamp tension is inconsistent or the clamp has cut into the hose surface
Hose ends are hardened, ovalised, cracked, or unable to seal evenly on the spigot
Surface cracking appears near bends, molded junctions, or connector ends
A hose has already been patched, shortened, kinked, or routed incorrectly
Quick-connect retainers, O-rings, or plastic couplings show cracking or loss of engagement
For procurement, the lowest total installed cost often comes from bundling seals, gaskets, clips, washers, and coolant with the main component. That reduces the risk of a repeat visit, shortens workshop time, and protects margin when labour is the dominant cost. It is also the safer choice when the failure is likely to have stressed adjacent parts, because a new hose attached to an aged, warped housing may still leak after installation.
Sourcing notes for B2B buyers
Diagnostic repairs are easier to price when replacement parts are consistent in dimensional control, material selection, and packaging quality. Before placing repeat orders, buyers should ask for traceability, test method, and release criteria, especially when the failure is being used to support a recurring service programme.
Driventus manufactures engine and powertrain components under IATF 16949:2016 and ISO 9001:2015 controlled processes. For cooling-system related parts and associated sealing items, buyers should confirm:
Dimensional match to OE fitment requirements, including port angles, flange flatness, bolt-hole position, hose diameters, and sensor interfaces
Material compatibility with coolant chemistry, glycol/water mixtures, corrosion inhibitors, heat cycling, and under-bonnet contaminants such as oil mist
Pressure and leak testing on pumps, housings, radiators, caps, or assembled modules according to the part type and application requirements
Seal material specification, such as EPDM or FKM where suitable for the coolant and temperature environment
REACH (EC) No 1907/2006 compliance where required by the destination market
Packaging that prevents flange damage, O-ring distortion, thread contamination, and sensor-port impact during transport
Batch traceability, date coding, and claim-control process for repeat supply and warranty analysis
Sourcing decisions should reflect where and how the part is installed. A component fitted behind a timing cover, under an intake manifold, or deep in the engine bay may justify a higher validation standard than a simple visible hose because one comeback can cost several times the part value. If the programme needs non-standard fitment, drawings, samples, private label handling, or controlled packaging, see custom manufacturing. For broader sourcing, review our catalog and the quality system.
For buyers building a repair-cost model, keep two numbers side by side: the unit part cost and the total installed cost. That comparison makes it easier to evaluate supplier options, approve the right repair scope, and avoid underestimating a cooling-system fault that involves access-heavy labour, diagnostic testing, or additional sealing components.
Frequently asked questions
It depends on the failure source and access time. A cap, O-ring, hose, or clamp can be low cost, while a water pump, radiator, heater core, turbo coolant line, or head gasket diagnosis adds labour and test time. The estimate changes most after cap testing and pressure testing confirm the leak path and show whether the fault is external or internal.
Only partially. External leaks can often be costed after visual inspection, cap testing, and a pressure test at the specified system pressure. Internal loss needs combustion-gas, compression, leak-down, borescope, or oil/coolant contamination checks. Those results determine whether the job is a simple replacement, a sealing repair, or a major engine-side repair.
Verify OE cross-reference, engine code, production date, dimensions, port layout, sensor interfaces, coolant compatibility, included seals, and packaging standard. For repeat supply, ask for test records, batch traceability, and process control aligned to IATF 16949:2016 and ISO 9001:2015 so the same fault does not become a repeat claim or delayed installation.
For sourcing support, cross-reference checks, or a replacement quote, please [request a quote](/contact.html).