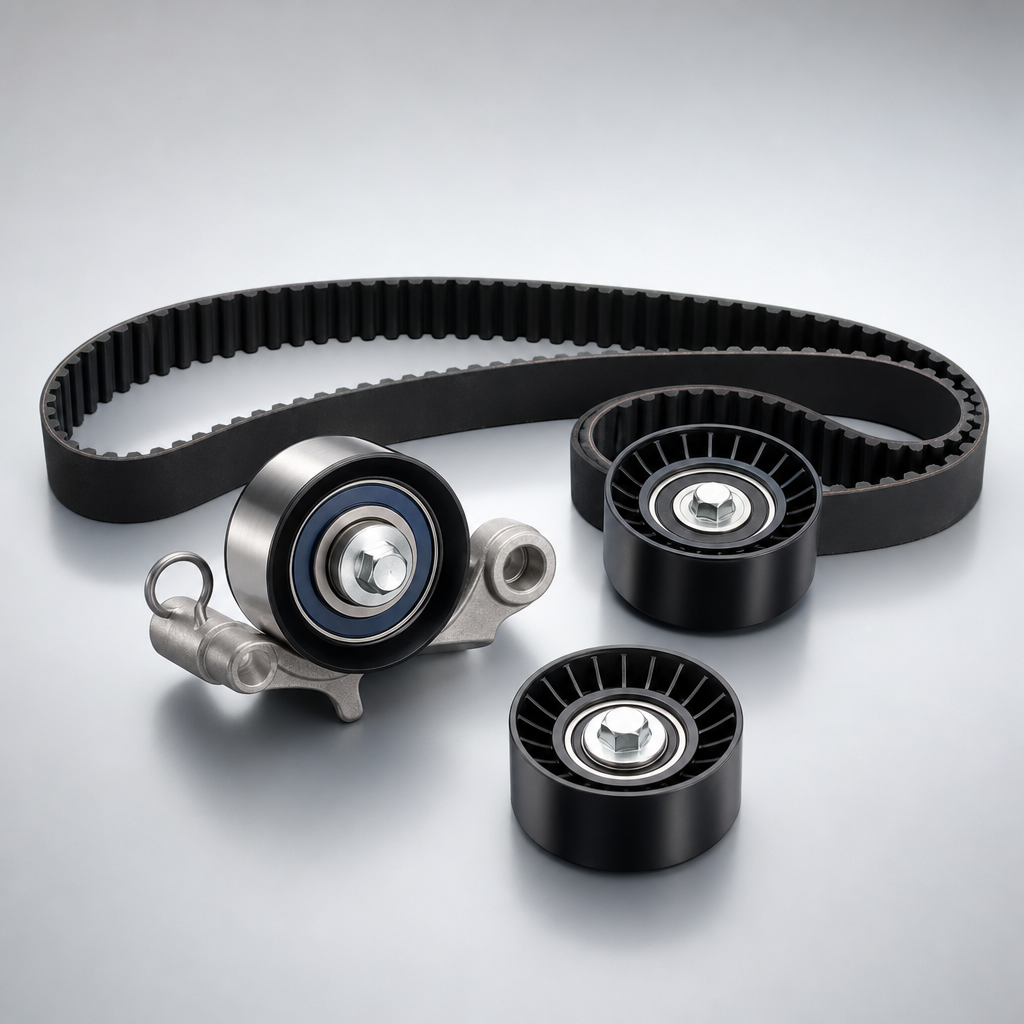
Carbon Buildup, Intake Valves, and Valve Cover Gasket
Carbon buildup intake valves valve cover gasket issues are often discussed as separate faults, but in aftermarket reality they frequently show up on the same engine family. The key distinction is simple: intake-valve deposits are usually driven by fuel-system design, PCV behavior, oil volatility, temperature, and duty cycle, while a valve cover gasket affects sealing, oil control, and sometimes crankcase ventilation stability. One causes hard deposits directly; the other can accelerate the conditions around them. For procurement teams, workshop networks, and distributors, that difference changes what should be inspected, what should be bundled, and what should be sourced as a repeat-repair program. This article takes a practical route: how to decide whether the complaint is deposit-led or seal-led, where failures overlap, what specs matter in a gasket, and how buyers can validate supply before committing to volume. Driventus is an independent aftermarket manufacturer; any brand names mentioned are for fitment reference only.
Start with the decision framework: what is actually causing the complaint?
The fastest way to mis-buy parts in this category is to assume every rough-idle or oiling complaint has one root cause. It usually does not.
On port-injected engines, fuel spray helps wash the intake valve. On many gasoline direct injection engines, that cleaning effect is absent, so oil mist and crankcase vapour can stick to the valve surface and bake into deposits. Add short-trip use, high intake temperatures, extended oil drains, or unstable PCV flow, and carbon buildup becomes far more likely.
That is the direct path.
The valve cover gasket sits in a different part of the failure chain. When it hardens, shrinks, or loses recovery after repeated heat cycles, it can allow external oil leakage, disturb sealing around breather or PCV passages, and contribute to a dirtier top-end environment. It does not usually create hard carbon on the back of the intake valve by itself.
Typical field patterns help frame the decision:
On GDI engines with short-trip duty, visible deposit complaints often become more common around 50,000-80,000 km
More severe airflow-related misfire cases are often reported beyond 80,000-120,000 km
Gasket-related seepage can appear earlier or later depending on cover material, thermal load, and service history
For B2B buyers, the conclusion is important: carbon buildup intake valves valve cover gasket demand should not be treated as one generic service event. The gasket is usually an indirect contributor, but on engine families with known PCV-related oiling issues, it can still belong in the same repair bundle.
That is why many distributors build kit logic around failure pattern, not just around a single part number.
Use symptom separation before you place the order
Before anyone orders intake-cleaning materials, a gasket set, or a full top-end kit, separate the complaint into intake symptoms, sealing symptoms, and overlap symptoms.
Symptom
More likely related to intake valve deposits
More likely related to valve cover gasket
Notes
Cold-start misfire
Yes
Indirect only
Common on GDI engines with heavier deposits; confirm with misfire counts after overnight soak
Rough warm idle
Yes
Possible if PCV or vacuum leakage exists
Smoke test and fuel-trim review help separate the cause
Oil smell from engine bay
No
Yes
Check perimeter gasket, bolt grommets, and hot-side seepage
Visible oil on cylinder head
No
Yes
Inspect cover flatness and sealing surface condition
Hesitation or reduced airflow
Yes
No
Verify with borescope findings and MAP/MAF trend
Oil in intake ducting
Possible
Possible indirect link
Check PCV valve, separator, and breather routing
Oil in spark plug wells
No
Yes
Usually points to tube seals or cover distortion
</tr></thead><tbody> </tbody></table>A useful rule: if the symptom is airflow, misfire, or cold-start instability, start by proving deposits. If the symptom is external oil, smell, or spark plug well contamination, start by proving sealing failure.
Then look for overlap.
A disciplined ordering decision usually includes:
Intake inspection report or borescope images
PCV valve or diaphragm condition
Valve cover flatness and surface cleanliness
Gasket condition, including hardening, cracking, and compression set
Presence of oil in spark plug wells
Service history for oil grade, drain interval, and repeat leak timing
This is also where kit strategy starts making commercial sense. If the same engine family repeatedly needs a gasket, tube seals, and a PCV membrane together, many buyers convert those separate lines into one service kit SKU. That reduces picking errors and usually improves landed cost per repair.
Failure-mode workflow: inspect the engine in the order that saves rework
A generic checklist is less useful than a failure-mode workflow. The goal is to identify whether the job is mainly a deposit problem, mainly a sealing problem, or both.
Step 1: Inspect the intake side
Use a borescope and compare cylinders. You are looking for thickness, texture, and distribution, not just the presence of staining.
Focus on:
Dry, hard carbon on the backs of intake valves
Sticky or wet oil residue in the port
Uneven buildup by cylinder or bank
Evidence of airflow restriction or imbalance
Light staining alone rarely justifies aggressive parts bundling. Moderate to heavy deposits, ridge formation, or clear correlation with misfire data do.
Step 2: Inspect the sealing system
Remove the cover and inspect the gasket channel, mating face, spark plug tube seals where fitted, and any PCV passages integrated into the cover.
Check for:
Permanent gasket flattening or shrinkage
Waviness on stamped or composite covers
Cracks around bolt bosses
Hardened tube seals
Sludge in PCV passages or separator areas
Step 3: Verify the measurable points
Useful checkpoints include:
Cover flatness: often within 0.20-0.40 mm total warpage across the sealing face, depending on design
Gasket cross-section consistency: commonly +/-0.10 to +/-0.20 mm on critical bead height
Compression set: many buyers target below 25-35% after thermal ageing, depending on material and test method
Torque control: confirm the workshop follows OE sequence, because overtightening can distort the cover and cause repeat leakage
Step 4: Confirm the service architecture
Not every engine uses the same top-end sealing layout. Buyers should confirm whether the application uses:
A standalone perimeter gasket
An integrated moulded seal
A complete valve cover assembly with built-in PCV membrane or separator
That detail matters. On some engines, carbon buildup intake valves valve cover gasket decisions expand quickly into cover replacement, not just gasket replacement.
For export programs, elastomer compliance should also be reviewed, including REACH (EC) No 1907/2006 where applicable. Once sourcing moves beyond spot buying, buyers should request dimensional records, a control plan, first-article reporting, and batch inspection method for the gasket profile.
Spec deep-dive: what separates a workable gasket from a comeback-prone one
For repeat repairs, nominal fitment is not enough. The gasket has to hold clamp load, survive thermal cycling, resist oil, and arrive at the workshop without deformation.
Common material options include ACM, AEM, VMQ silicone, and selected rubber-cork or nitrile blends, depending on cover design and operating temperature.
A serious procurement checklist should cover:
Material grade: matched to temperature, oil exposure, and cover design
Compression set resistance: sealing recovery after repeated heat cycles
Section tolerance: stable bead height and groove retention
Tensile and elongation: resistance to tearing during installation and removal
Oil resistance: verified by test data, not by a generic claim
Pack integrity: no twist memory, crushing, or contamination during storage and transit
Typical buyer-side target values for aftermarket valve cover gaskets include:
Hardness: roughly 55-75 Shore A depending on clamp load and groove retention
Continuous service temperature: around 150-180 C for many ACM/AEM applications; 200 C class for selected VMQ designs
Tensile strength: often 7-10 MPa minimum for molded elastomer sections in repeated-service environments
Elongation at break: commonly 150-250% minimum, depending on compound family
Oil swell control: define acceptable volume change in test oil before approval
This is where low-price sourcing often fails. The part may fit the cover, but poor recovery, weak molded corners, or inconsistent bead height can still produce repeat leakage.
For larger aftermarket accounts, traceability should be visible in the manufacturing file. Relevant management standards include IATF 16949:2016 and ISO 9001:2015. They do not certify the gasket design itself, but they do matter for lot control, documentation, and non-conformance handling.
Commercial structure should match technical risk:
Standard aftermarket MOQ: often 300-1,000 pcs per part number
Private-label packaging MOQ: often 500-2,000 pcs depending on print method and inserts
Tooling or profile development: usually justified only when annual demand is stable and field data supports a revised section design
Lead time: commonly 25-40 days for repeat orders, or 45-60 days when new packaging, approval samples, or mixed-kit assembly are involved
Price usually moves with compound cost, cavity output, and pack format. In many cases, retail labeling, kitting, and barcode requirements add more cost than the raw gasket material change.
At Driventus, buyers reviewing our valve cover gasket range can use our catalog for part-family coverage and the quality system page for manufacturing and inspection context.
Scenario comparison: when to sell a gasket, when to bundle a full repair kit
Replacing only the gasket can be correct. It can also be the reason the vehicle comes back.
The right scope depends on the failure mode found during inspection.
Condition found
Recommended service scope
Heavy intake deposits, no external oil leak
Intake cleaning, PCV inspection, review oil specification and service history
Replace gasket, inspect PCV valve or separator, clean intake tract
Oil in spark plug wells
Replace perimeter gasket and tube seals where applicable
Repeated leak after prior repair
Check cover distortion, fastener grommets, surface finish, and installation method
</tr></thead><tbody> </tbody></table>A practical bundle model often works like this:
Single gasket only: for clear external seepage with no PCV or spark plug well issue
Gasket + tube seals: when the cover is already off and plug well leakage is common on that engine family
Gasket + PCV components: when intake oiling, idle instability, or diaphragm failure history is established
Full service kit: for workshop chains that want one repair code covering gasket, tube seals, grommets, and small breather seals
From a stocking perspective, bundled sets usually reduce service delay on known problem engines. The kit MOQ may be higher than loose-gasket MOQ because of assembly and packing steps, but the total job-cost logic is often better.
Example: a gasket-only SKU may save a small amount on unit price, but one comeback caused by reusing aged tube seals can consume more margin than the savings from 50-100 low-cost kits.
That is why distributors dealing with carbon buildup intake valves valve cover gasket jobs often choose a slightly higher kit price if it lowers warranty exposure and repeat labor.
If the application requires private-label packaging, kitting, or revised material selection, Driventus also supports custom manufacturing for B2B programs.
Buyer Q-and-A: where sourcing programs usually fail
Most sourcing problems in this category are not dramatic. They are repetitive. Small dimensional drift, poor packaging, vague fitment mapping, and weak validation discipline create the majority of claims.
What is the most common procurement mistake?
Treating the valve cover gasket as a low-risk commodity item. Return data often shows the opposite. Poor elastomer recovery, inconsistent cross-section, and weak molded corner geometry are common causes of repeat leakage.
What should be requested before supplier approval?
Ask for:
Material identification and compound consistency records
A dimensional inspection plan for moulded or extruded sections
Thermal ageing and oil-resistance test data
Batch traceability from raw material to finished pack
Packaging controls that prevent seal deformation in storage
Clear fitment mapping by engine code and build variation
What acceptance criteria should be written into the approval process?
Common validation points include:
First-article dimensional check: critical profile dimensions within agreed tolerance, commonly +/-0.10 mm on sealing beads and +/-0.20 mm on non-critical sections
Corner fill and flash control: no underfill on molded corners; flash limits should prevent sealing-lip damage
Ageing test review: compare pre- and post-age hardness, tensile, and elongation, not just pass/fail language
Packaging drop and storage check: confirm the gasket does not twist, crease, or take set after stacking and warehouse dwell time
Lot traceability: inner label, master carton label, and invoice lot record should reconcile
How should cross-reference risk be handled?
Carefully. If a buyer is matching against a common OE-style reference such as OE 11251..., the dimensional drawing and channel-retention profile should be checked against the actual cover design, not just catalogue text.
What matters more in multi-market supply: price or stability?
For importers serving the EU, UK, North America, Australia, and Brazil, incoming quality stability usually costs less than chasing the lowest unit price. One failed gasket can trigger duplicate labour, repeat freight, and avoidable downtime. Buyers evaluating sealing products alongside related engine parts can also review /products/engine-components.html for adjacent coverage.
What commercial checks belong beside the technical checks?
They should be handled with the same discipline:
Sample order stage: confirm whether sample charges are refundable against production MOQ
Pilot run stage: verify packed quantity, barcode format, and label language before mass print
Production approval stage: freeze drawing revision, compound code, and pack specification on the purchase order
Reorder stage: set lead-time commitments with tolerance bands rather than open-ended estimates
That combination of technical control and commercial control is what usually separates a stable repeat-repair program from a low-price source that generates claims.
Frequently asked questions
Not directly. Intake-valve deposits are mainly associated with crankcase vapour, oil mist, fuel system design, and operating conditions. A leaking gasket can contribute indirectly if it affects PCV sealing or allows more oil contamination to enter breather passages. On GDI engines with unstable PCV flow, that indirect effect can be enough to justify bundling gasket service with intake inspection.
Often yes, especially if the cover must be removed for inspection, the gasket shows hardening, or there is visible seepage. Bundling gasket replacement with PCV checks helps reduce repeat labour and lowers the chance of an incomplete repair. For workshop groups, the decision usually makes the most sense when the additional parts cost is small relative to repeat labor exposure.
For supplier process control, IATF 16949:2016 and ISO 9001:2015 are the main references. For chemical compliance in applicable markets, REACH (EC) No 1907/2006 should also be reviewed as part of the material declaration process. Buyers commonly also request dimensional inspection records, ageing and oil-resistance test data, and lot traceability as part of approval.
If you are reviewing valve cover gasket supply for repeat repair programs, Driventus can provide application coverage, material information, MOQ and lead-time guidance, and B2B support. Use the form to [request a quote](/contact.html).