2004 Expedition Upper Control Arm Replacement: How Buyers Vet the Right Part
A 2004 Expedition upper control arm replacement usually enters the conversation after ball joint wear, cracked bushings, corrosion, or unstable alignment shows up in service. But for B2B buyers, the real issue is not simply whether the arm bolts on. It is whether the replacement holds OE-like geometry, installs without forcing, and performs consistently across repeated batches. That affects return rates, labour claims, and distributor credibility.
This article takes a practical sourcing view of the application. Instead of treating the part as a generic catalogue item, it breaks the decision into what buyers actually need to verify: fit-critical geometry, construction details that change field life, the validation steps that separate a safe launch from a return problem, and the questions worth asking before committing to volume. Driventus is an independent aftermarket manufacturer; brand names are referenced for fitment only.
Start with a decision framework, not a fitment claim
For this application, a generic "fits 2003-2006" statement is not enough. Suspension parts fail commercially when buyers approve them on appearance and broad catalogue language instead of on geometry and interface control.
For a 2004 expedition upper control arm replacement, the first pass should answer four questions:
1. Does the arm match the vehicle's required geometry? 2. Are the ball joint and bushings built to a repeatable standard? 3. Can the supplier prove batch-to-batch control? 4. Will the part arrive packed, labelled, and protected well enough to avoid avoidable returns?
That framework keeps the review focused. If one of those areas is weak, the programme gets expensive later.
The fitment checks that matter most are usually:
Centre-to-centre mounting span
Ball joint stud taper and thread dimensions
Bracket width and mounting hole diameter
Bushing sleeve length and concentricity
Installed articulation angle
Surface protection thickness for corrosion resistance
On drawing review, buyers typically sort dimensions into critical, major, and general categories. Critical dimensions often include ball joint stud position relative to the bushing axis, taper fit, mounting span, and bushing sleeve width. As a working aftermarket screen, many buyers ask suppliers to hold critical location dimensions within about ±0.30 mm to ±0.50 mm, mounting hole diameter within ±0.10 mm to ±0.15 mm, and welded bracket width within ±0.20 mm to ±0.30 mm. Final tolerances should follow the approved drawing or golden sample, but these numbers quickly expose suppliers selling visual similarity rather than controlled production.
Also confirm:
Left-hand and right-hand assemblies are controlled as separate SKUs
Ball joint thread pitch and nut engagement match the mating knuckle and hardware
Bushing inner sleeve length matches the chassis bracket stack-up so clamp load sits on the sleeve, not the rubber
The arm clears adjacent suspension parts through full jounce and rebound
The boot profile does not hit the knuckle or arm body at maximum articulation
One more practical point: clarify whether the arm is supplied as a full assembly with ball joint and bushings already installed. That affects labour time, install consistency, and quality risk. A preassembled arm can simplify service, but it also means the supplier must control pressing force, bushing orientation, and final articulation before packing.
At RFQ stage, buyers usually want the order logic clear as well:
Prototype/sample order: often 2-10 pcs
Pilot order: often 50-200 pcs
Mass order MOQ: commonly 300-500 pcs per SKU for standard export packing
Tooling: usually none for a standard catalogue item, but custom branding or packaging may add setup cost
Price usually moves with arm-body construction, ball joint grade, coating system, hardware inclusion, and packaging level. In export aftermarket trade, planning ranges around USD 18-35 per piece are common for standard-volume programmes, though actual quotes depend on steel cost, rubber compound, destination market, and inspection scope.
If you are comparing multiple sources, a good first filter is to review our catalog and confirm that left and right assemblies are listed as separate validated SKUs rather than bundled under one vague application line.
Spec deep-dive: which construction details change real-world performance
Two upper control arms can look almost identical on a shelf and behave very differently in service. That gap usually comes from the ball joint, bushings, weld control, and coating quality rather than from the obvious shape of the arm.
Component area
What to verify
Why it matters
Arm body
Forged or stamped steel grade, wall thickness, weld consistency
Affects stiffness and fatigue resistance
Ball joint
Stud hardness, housing retention, grease sealing, boot material
Controls steering feel and service life
Bushings
Rubber formulation, bond strength, sleeve finish
Influences NVH and alignment stability
Mounting interfaces
Hole tolerance, bracket width, parallelism
Prevents installation stress
Coating
Salt-spray performance and edge coverage
Reduces corrosion claims
</tr></thead><tbody> </tbody></table>For the 2004 Expedition application, geometry stability matters. If the bushing eyes drift or the ball joint seat shifts even slightly, the part may still install under force but preload the assembly in a way that shortens bushing life or creates noise later.
On the arm body, ask whether the design is stamped-and-welded steel or forged steel. Stamped assemblies depend heavily on sheet thickness control, forming spring-back, fixture location, and weld penetration. A practical buyer request is nominal wall or sheet thickness plus the acceptable range, for example 3.0-4.5 mm depending on design. If the supplier cannot show post-weld dimensional checks, variation risk rises fast.
For the ball joint, the useful questions are specific:
How is stud hardness controlled?
What is the retention method: swage, staking, circlip, or interference fit?
Is rotational torque measured at end of line?
What is the axial play standard?
What boot material is used, and is it grease-compatible?
Good acceptance logic is simple. Buyers often require 0 visible grease leakage, no torn boots, complete thread form, and articulation torque inside the approved control range. Better programmes also record rotational torque and axial play at startup and at defined intervals during the batch. Pull-out or push-out numbers should be tied to a real test method and lot traceability, not treated as brochure language.
Bushings deserve equal scrutiny. Rubber hardness, rebound, and bond quality all affect how the arm behaves after installation. Many buyers ask for hardness in Shore A, often within ±5 Shore A of nominal. Sleeve-to-rubber offset, void orientation where applicable, and press depth also matter. A small angular error here can move the installed geometry enough to create fit complaints.
Coating is another separator. A black-painted arm may pass visual inspection and still fail early in humid or salted-road markets if edges and welded areas are poorly covered. For export supply, buyers commonly ask for coating thickness data and neutral salt-spray performance. A planning benchmark of 240-480 hours NSS is often discussed depending on market tier and finish system.
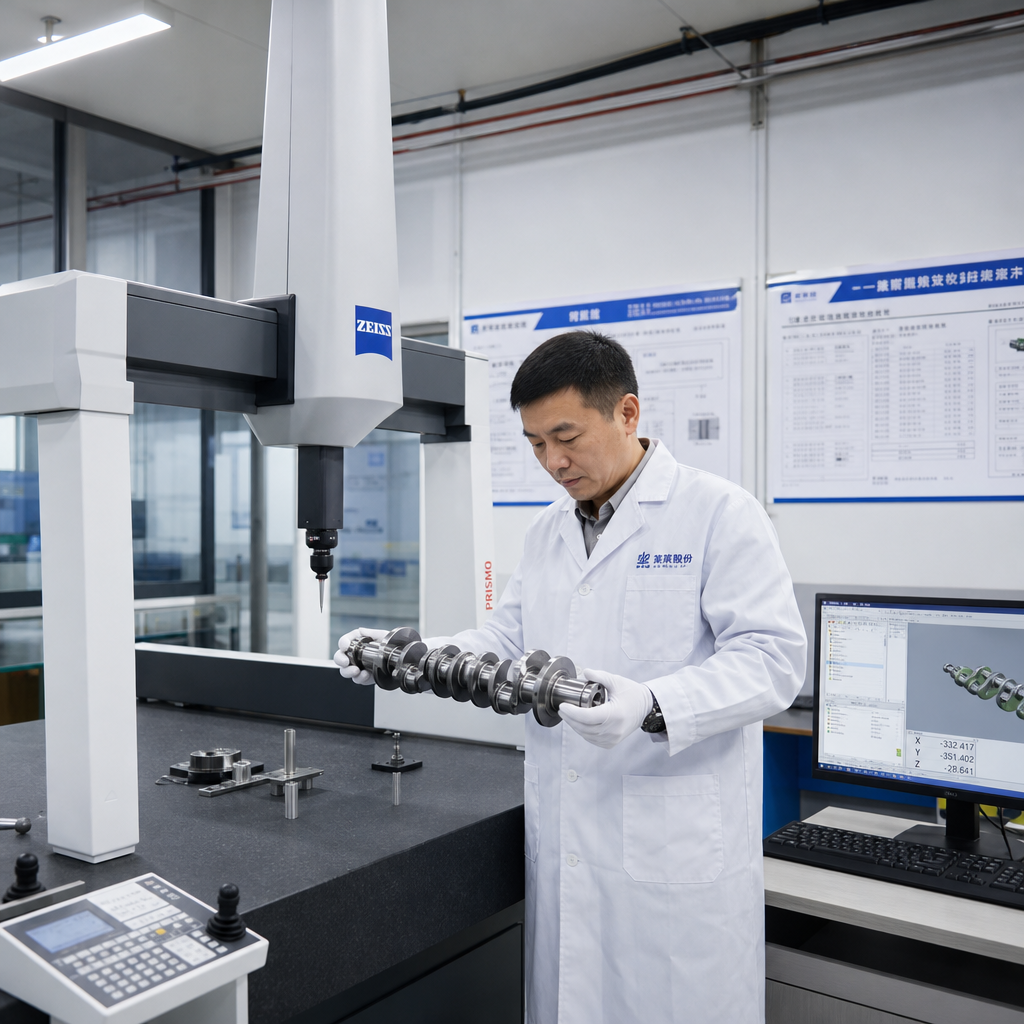
Strong suppliers should be able to show more than a final inspection sheet. Look for incoming material verification, welding jigs with positive location control, bushing press-depth stops, ball joint press-force records, and final go/no-go fixtures for stud position.
If your programme needs private-label packaging, part marking, or kit changes, Driventus can support custom manufacturing for those requirements.
Failure modes buyers actually see after launch
Most returns in this category come from a short list of repeat problems. They are rarely mysterious. More often, they trace back to one uncontrolled interface, weak packaging, or incomplete launch validation.
Coating damage leading to early corrosion complaints
Left/right SKU mix-ups in warehouse handling
The tricky part is that many returned arms do not look obviously defective. Installers may report difficult fit, poor alignment stability, or noise after short mileage even when the part appears normal on visual inspection. In those cases, the root cause is often a small dimensional shift at one critical point.
Other common causes include incomplete grease fill where the design requires grease, hardware substitution, carton collapse in sea freight, and visual confusion with similar Ford-platform applications. In practice, even a 1-2 mm deviation at one bracket or stud location can be enough to trigger installer rejection.
Procurement controls that reduce those failures
Approve a master sample before volume release
Lock critical dimensions into the control plan
Specify barcode and carton labelling by side and application
Require stud caps and sealed inner packing
Review first-shipment defect feedback within 30 days of arrival
For multi-location service networks, install consistency matters as much as piece price. A cheaper arm with variable geometry can generate labour claims that wipe out the initial savings.
A useful sourcing model compares price delta with expected field cost. For example, if Supplier A is USD 2.50 cheaper per arm but creates even a 2% higher return or labour-claim rate, the total programme cost can rise once reverse logistics, technician time, customer credit, and reshipment are included. Buyers often model:
Piece-price delta per arm
Packaging cost per unit
Claim rate target, often below 1% for mature programmes
Average warranty handling cost per claim
Return freight and warehousing cost
Time to issue containment or replacement stock
Transit protection deserves more attention than it usually gets in RFQs. Good export packing typically includes a thread protector or stud cap, a sealed polybag or dust barrier, fixed part orientation inside the inner box, and a master carton strong enough for stacking. For sea freight, ask about carton burst strength, board grade, palletisation, and moisture-control logic.
Corrective-action speed matters too. A practical framework is:
Initial defect notice within 7-30 days of receipt or install feedback
Supplier containment response within 48-72 hours
8D or equivalent root-cause report within 7-10 working days
Replacement, credit, or sorting plan agreed per contract terms
That structure keeps quality disputes manageable and separates true manufacturing issues from handling damage or misapplication.
Step-by-step validation before you scale volume
If the goal is OE-equivalent replacement performance, validation has to go beyond a shape check. The part should be reviewed as a programme, not just as a sample.
A practical validation path for a 2004 expedition upper control arm replacement usually has three stages:
1. Sample validation 2. Pilot validation 3. Ongoing batch control
1. Sample validation
At this stage, confirm the basics:
Visual finish
Key dimensions
Thread fit
Taper fit
Boot clearance
Packaging condition
This is where golden samples or master samples are most useful. They create the reference that later batches can be judged against.
2. Pilot validation
Do not rely on hand-selected pieces. Inspect a batch produced under normal conditions. This is the point where fixture drift, welding variation, or inconsistent bushing press depth starts to show.
Critical characteristics commonly checked here include:
Bushing centre-to-centre span
Ball joint stud X/Y/Z location from datums
Taper major and minor dimensions with seating depth
Bushing sleeve overall length
Mounting bracket inside width and parallelism
Stud thread diameter and pitch confirmation
3. Ongoing batch control
Once the item is approved, the supplier still needs routine lot control. Many buyers use 100% visual inspection for boots, threads, coating damage, and side-label correctness, then add dimensional sampling by AQL. Typical approaches include AQL 0.65 or 1.0 on criticals and AQL 1.5 or 2.5 on majors, depending on claim sensitivity.
The exact AQL matters less than whether the plan is written, repeatable, and linked to containment when results drift.
For articulation testing, ask for the actual angle range and fixture method. The joint should move through its intended operating angle without boot tearing or metal-to-metal interference. For retention testing, request the test load, direction, fixture, and pass criteria. The same goes for bushing bond checks: ask how often they are run and how failure mode is recorded.
Corrosion validation should reflect the target market. Dry inland distribution may accept a standard paint-and-phosphate system. Coastal or salted-road markets often need a stronger finish. If hardware is included, review it separately; plated nuts and washers can become the weak link even when the arm body is acceptable.
For quality-system review, buyers commonly expect production under IATF 16949:2016 and ISO 9001:2015 controls. EU-facing supply may also require material compliance review under REACH (EC) No 1907/2006.
A capable supplier should be able to support traceability, inspection records, and a defined nonconformance process through its quality system. For repeat imports, also ask how long records are retained and how lot codes are marked on both carton and part.
Supplier comparison: the questions that expose weak offers fast
When buyers compare suppliers in this category, broad quality claims are not very useful. The strongest offers are usually the ones that answer technical and commercial questions clearly, with records behind them.
Recommended questions:
1. What critical dimensions are checked on every batch? 2. Is the ball joint made in-house or sourced, and what retention test is used? 3. What is the corrosion protection specification for both the arm and any included hardware? 4. Are bushings checked for hardness range and bond integrity? 5. Can the supplier provide application-specific fitment validation and packaging samples?
Then move into the commercial controls that often decide whether the programme runs smoothly:
6. What is the standard MOQ per SKU and is mixed-order loading possible? 7. What are the sample, mass-production, and repeat-order lead times? 8. Which factors move price: steel cost, coating upgrade, hardware inclusion, private-label packaging? 9. Which items receive 100% visual inspection, and which dimensions are checked by sampling? 10. Can finished product lots be traced back to the ball joint, bushing, and arm-body production batches?
Typical lead-time logic for an existing validated item often looks like this:
Sample lead time: about 7-15 days if stock or semi-finished inventory exists
Private-label sample lead time: about 15-25 days if custom packaging is needed
Mass production lead time: about 30-45 days after deposit and artwork approval
Repeat order lead time: about 20-35 days when material and packaging are stable
A useful comparison method is to score each supplier on five factors instead of looking only at unit price:
Geometry control
Ball joint and bushing quality
Packaging robustness
Traceability and response speed
Cost stability over 6-12 months
That last point matters. Many distributors do not need the cheapest first order; they need predictable landed cost and low disruption over a season or contract period.
If the order depends on container consolidation or vessel schedules, ask for cut-off timing and export buffer assumptions. A quote that shows only factory production time is incomplete.
Pricing is easier to compare when broken into structure rather than one total line:
EXW or FOB unit price
Packaging cost if non-standard
Hardware kit cost if included
Sampling or artwork charges
Tooling cost if a custom change is requested
Added cost for premium corrosion finish or upgraded joint specification
Driventus exports to more than 60 countries and supports B2B programmes for distributors, wholesalers, OEM-oriented buyers, and repair networks. If you are reviewing this application alongside other chassis lines, browse our catalog or request a quote for technical and commercial review.
Driventus is an independent aftermarket manufacturer; brand names are referenced for fitment only.
Frequently asked questions
The most important factor is OE-equivalent geometry: mounting span, ball joint position, taper dimensions, and bushing alignment. If these are out of tolerance, installation issues and alignment problems can occur even if the arm looks correct. For buyer control, the highest-risk dimensions are usually stud location, sleeve width, taper fit, and bracket parallelism.
Yes. At minimum, request dimensional inspection records, ball joint retention or pull-out verification, bushing bond checks, articulation confirmation, and corrosion protection data. For repeat programmes, also ask for the sampling plan, lot traceability method, and the supplier's response timeline for nonconforming batches.
Yes. Many B2B programmes require custom labels, kit contents, protective caps, and export carton specifications. Driventus can support these requirements through custom manufacturing and application-based packaging review. Buyers should confirm MOQ impact, artwork approval timing, and whether custom packaging changes standard lead time.
If you are evaluating control arm supply for replacement programmes, Driventus can provide technical review, fitment checks, and export support. Send your requirements or sample references via /contact.html